Table of Contents
ToggleEver looked at your iPhone and thought, “This needs a little pizzazz”? If so, you’re in for a treat! Making custom stickers for your iPhone is not just a fun way to express your personality; it’s also a chance to turn that sleek device into a canvas of creativity. Imagine your favorite quotes, quirky designs, or even your pet’s adorable face plastered on your phone. It’s like giving your iPhone a personality makeover—who wouldn’t want that?
Understanding Sticker Materials
Choosing the right materials is crucial for creating durable and vibrant iPhone stickers. Various options exist, each offering unique characteristics that affect design and application.
Types of Sticker Paper
Many types of sticker paper serve different purposes. Vinyl paper features water resistance and durability, making it suitable for long-lasting designs. Transparent vinyl enhances designs with a see-through background, ideal for images and text. Regular paper provides a cost-effective option for temporary stickers but lacks durability against moisture and wear. Specialty papers, such as metallic or holographic, add visual interest and appeal to designs. Selecting the appropriate type helps in achieving the desired aesthetic and functionality for the iPhone stickers.
Choosing the Right Adhesive
The choice of adhesive influences sticker longevity and surface compatibility. Permanent adhesives bond securely to surfaces and resist wear but may leave residue when removed. Removable adhesives offer easier applications and repositioning, ideal for temporary designs. Repositionable options allow minor adjustments during application but may not adhere well long-term. For surface types, such as plastic and glass, specific adhesives work better than others. Matching adhesives to the intended use strengthens the sticker’s performance and aesthetic appeal.
Designing Your Sticker

Creating an appealing sticker design involves several critical steps. Start with the right tools and techniques to bring your ideas to life.
Tools for Designing Stickers
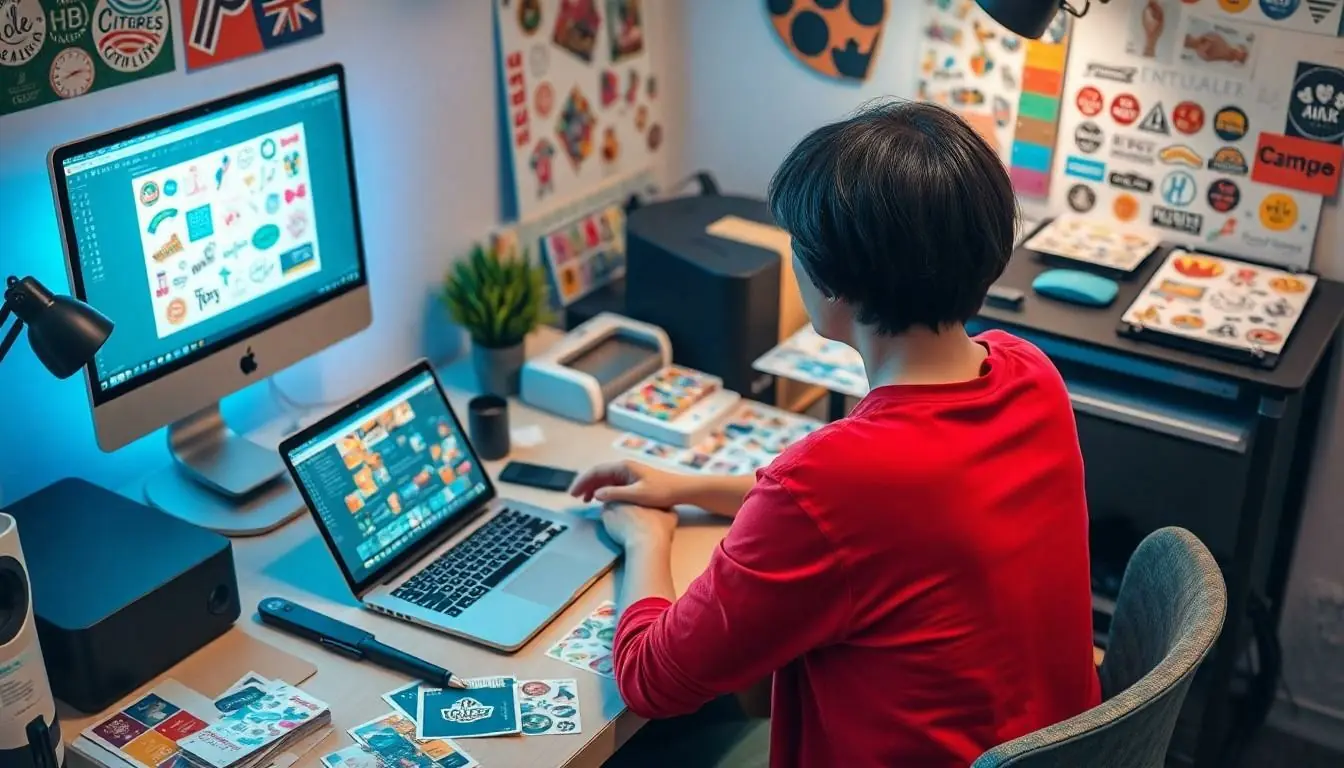
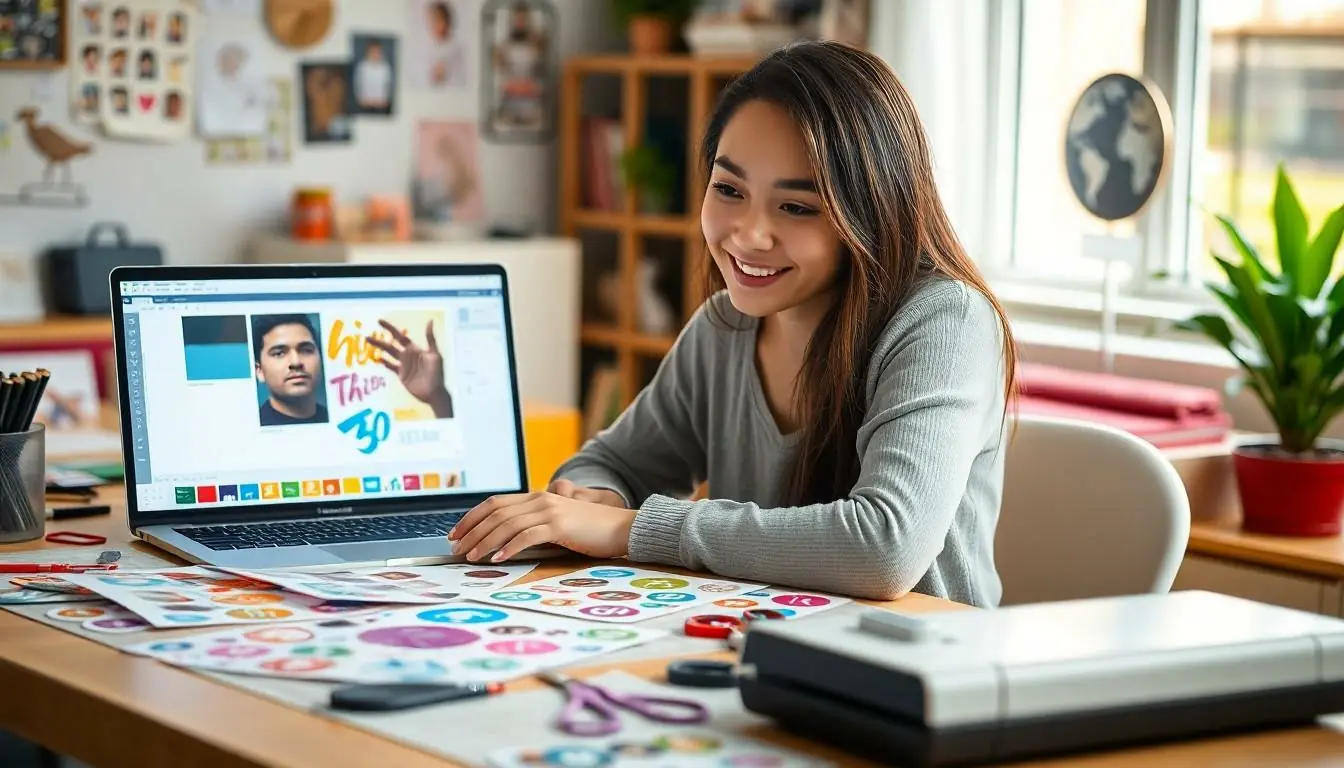
Graphic design software plays a significant role in developing stickers. Popular options like Adobe Illustrator or Canva provide templates and design features. A good quality printer is necessary for producing vibrant stickers at home. Consider using a cutting machine, such as a Cricut or Silhouette, for precise shapes. These tools enhance the overall design process and result in professional-looking stickers.
Tips for Creating Eye-Catching Designs
Effective sticker designs grab attention. Use bold colors to make a statement or select contrasting shades for visual impact. Simple shapes often convey messages clearly, allowing designs to stand out. Consider integrating trendy graphics or typography that resonates with target audiences. Maintain consistency with the theme, ensuring designs reflect personal style or brand identity. Stickers featuring unique patterns can also attract interest and engage viewers.
Printing Your Stickers
Printing stickers for your iPhone involves careful selection and setup. Choosing the right printer ensures quality and durability in the final product.
Printer Selection
Inkjets and laser printers are popular choices for sticker printing. Inkjets produce vibrant colors, making them ideal for intricate designs. Laser printers offer durability, especially for vinyl materials. Consider printers with a high DPI (dots per inch) for sharp images. Additionally, some printers support specialty papers, enhancing creative options. For best results, invest in a printer that fits your budget and meets your design needs.
Optimizing Print Settings
Setting up print settings correctly impacts the sticker outcome significantly. First, select the appropriate paper type setting to match the sticker paper being used. Adjust color settings to the highest quality to achieve vibrant designs. For larger projects, consider printing a test page to ensure colors align with expectations. Use the “borderless” printing option, if available, to expand the design to the edges of the sticker. Lastly, ensure the printer is calibrated to avoid uneven ink distribution. Following these guidelines leads to stunning, professional-looking stickers.
Cutting and Applying Stickers
Cutting and applying stickers requires precision for the best results. Proper techniques enhance the overall appearance of the stickers on an iPhone.
Cutting Techniques
Accurate cutting ensures that stickers fit their intended spaces. Craft cutting machines, like Cricut and Silhouette, offer clean edges for detailed designs. Manual cutting with scissors or craft knives is an option, though it requires steady hands. Using a cutting mat may simplify the process. It helps to line up designs correctly. Keep a blade sharp; dull blades can lead to frayed edges. Test cuts on scrap material can fine-tune settings and techniques, allowing for adjustments before final cuts. Choosing the right blade type is essential based on sticker materials. For instance, a fine-point blade works well with vinyl, while a deep-cut blade applies to thicker materials.
Step-by-Step Application Process
Applying stickers starts with selecting a clean surface. Wipe the iPhone down with a microfiber cloth to remove dust and oil. Position the sticker without peeling off the backing, ensuring a proper fit. Once satisfied, peel off the backing slowly, keeping the sticker aligned. For larger stickers, use a squeegee or credit card, smoothing out air bubbles as they arise. Start at the center and work towards the edges for an even application. If repositionable adhesive is used, take advantage of it to adjust positioning. After applying, press down firmly to enhance adhesion. Let stickers set for several hours before handling the iPhone to ensure durability.
Customizing Your Stickers
Customizing stickers for an iPhone allows for personal flair. Creative minds can explore various details to make their designs pop.
Adding Finishing Touches
Finishing touches enhance the overall look. Consider using a glossy or matte lamination to add protection and style. A glossy finish delivers vibrancy while a matte look offers subtle elegance. Borders can frame designs, providing a polished appearance. Ideas like adding holographic elements or unique textures can elevate stickers further. Experimenting with different layer effects can create depth and interest. Isolating key design features helps attract attention and improve visibility.
Protecting Your Stickers
Protecting stickers ensures longevity and quality over time. Clear sealants are a practical solution for added durability. Application of the sealant requires a light, even coat to avoid bubbles. Choosing a high-quality adhesive prevents lifting at the edges. Another option is to consider laminating the stickers for extra protection against wear and tear. Regular care, like avoiding prolonged exposure to moisture or direct sunlight, keeps stickers vibrant. Cleaning the iPhone surface regularly can also enhance adhesion. Incorporating these protective measures enhances the sticker’s lifespan and appearance.
Conclusion
Creating personalized stickers for an iPhone is a rewarding and enjoyable process. By understanding the materials and techniques involved, anyone can transform their device into a unique expression of self. The right combination of design tools and printing methods ensures that stickers not only look great but also last over time.
With attention to detail in cutting and applying the stickers, users can achieve professional results. Adding creative finishes and protective layers further enhances the overall look and durability. By following these steps, customizing an iPhone with stickers becomes an exciting way to showcase individuality and style.


